
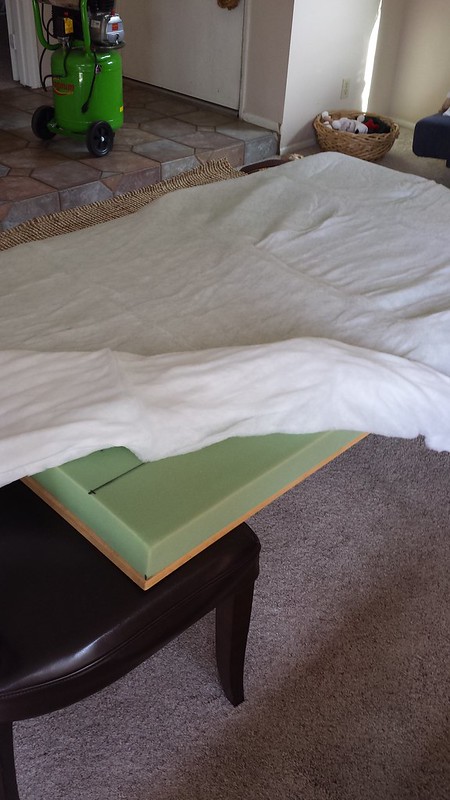
Since I don't have workhorses, I used to chairs to help me prop up the entire board. This project is much more digestible when you have a helper (aka husband) to help with the heavy lifting. Here I have already made my holes in the board and cut out the foam above the hole.
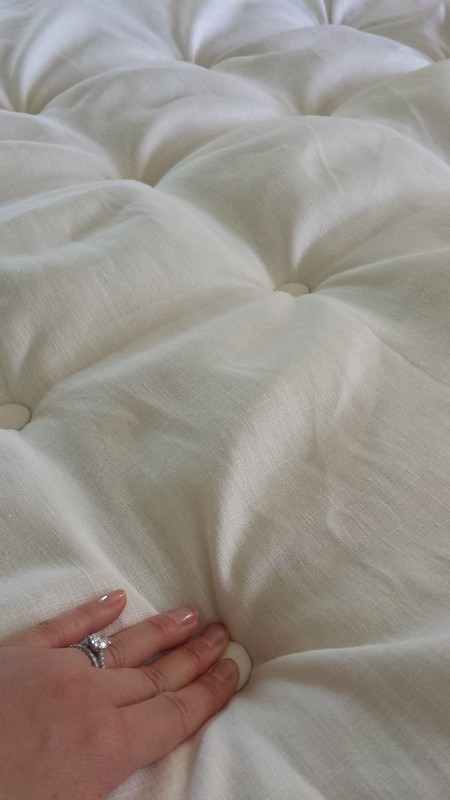
This is when the tufting fun began...not. This was probably the hardest part. Not the assembly of 60 covered buttons...but the installation of them!

Half of the rows completed. Now we go back and tuft the center of each of the pucked areas to make the diamond shape!
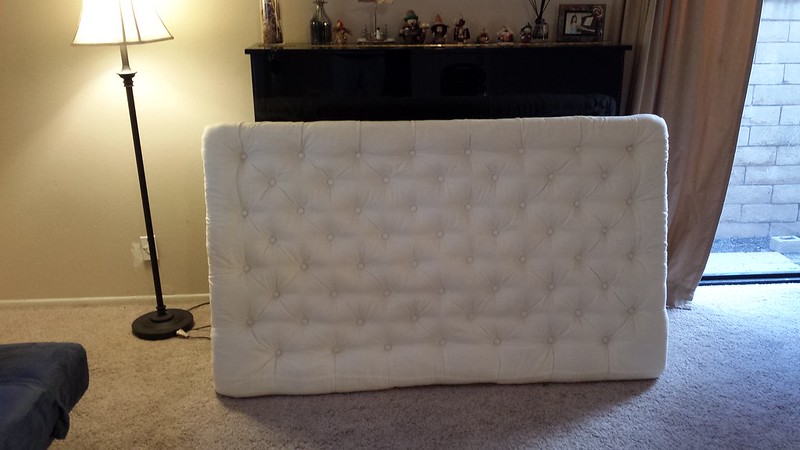
...and here it is completed in all its glory. Too bad it is still laying against a wall in the guestroom waiting for the legs to be installed. I'm guessing by the time that happens, we will have already replaced our bed. We've been dying to get a King sized bed to fit our need to sprawl out when we sleep. It is on the list to get for our 3rd anniversary. We wanted to celebrate our 3 yr anniversary by happily having more space in between our sleeping bodies. The irony.


No comments:
Post a Comment